Friday, October 23, 2015
Creating Curb Appeal in the Land of No Curbs
I remember once hearing from a real estate professional—or maybe on HGTV—that neighborhoods with proper sidewalks are considered higher value. If you live somewhere with crumbly asphalt sidewalks or nothing at all, you're in trouble. Concrete, allegedly, is a big moneymaker.
Well, out here in the country, there plain darn just ain't a lot of concrete sidewalks. Sure, some of the ritzier neighborhoods in town have them, but most of the people dwelling in those areas aren't spread out on acre-plus lots. On our street, most everyone has some sort of mulch or gravel or even just bare dirt leading out to the road. Which can make it a little tricky to really master curb appeal.
Perhaps in the country, we just have "drive-by appeal" or "front-of-house allure."
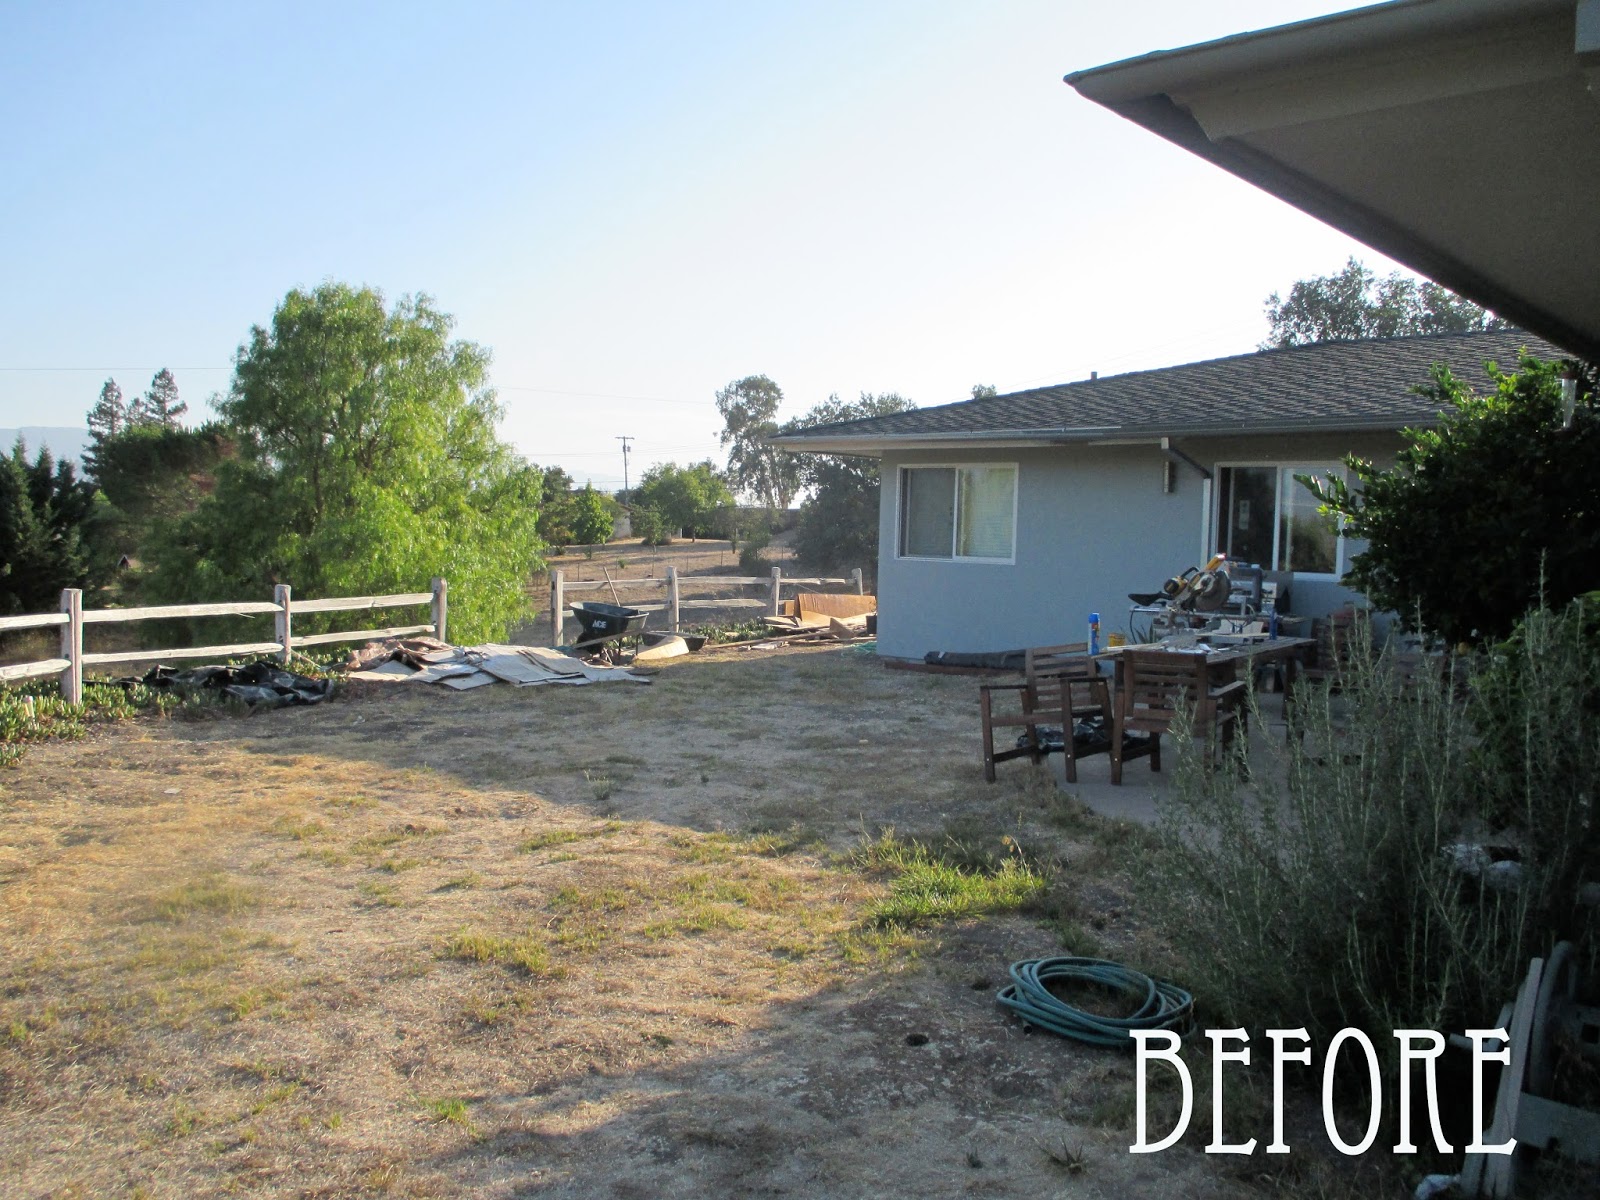
Anyway, our curblessness has been in desperate need of a little polishing. So after we finished the backyard compacted granite project, we started tweaking the front yard. We had already run a line of lavender plants from the front to the back to create separation between the granite and the mud patch that will soon be our new lawn.
Next, we raked up all the wood chips that lined the front of the house and pulled up the 1960s stepping stones.
We found stone blocks at Home Depot that matched our front planters and chimney almost perfectly, so Mr. W arranged them in a similar pattern to form a new walkway to the front door.
The old stepping stones were placed so haphazardly, as soon as we laid down the new walkway it felt like order had descended upon the house. Sure, the decomposed granite makes it look a little like we installed a sand volleyball court in front of our house, but overall I think it looks so much better than it did before.
We may not have curbs at our house, but I think we've nailed the appeal. Now to start saving to pay for a new driveway...
Labels:
curb appeal,
decomposed granite,
front yard,
landscaping
Sunday, October 11, 2015
Grumbling and Graveling in the Backyard
Ever since we started renovating our house, I've had to listen to people gush over how impressed they are that Mr. W is doing most of the work. How does he know how to install kitchen cabinets? That deck he built is beautiful. He did the tile in the bathroom—Gorge! You're so lucky to have him!
Marsha, Marsha, Marsha!
Readers, I've had enough. And I think it's high time I get a little recognition for my contributions—particularly because this week I did something that most every wife I know would never do: I spent every free moment of the better part of my week shoveling gravel and granite in our backyard. I'm not sure whether this makes me a complete idiot or a backyard bad ass.
Let me tell you, it was back-breaking work. Like sweat-all-the-way-through-your-shirt, every-muscle-is-sore, work. Oh, and did I mention it's been about 90° here this week? Yet, I pulled on my garden boots and grabbed my shovel countless times to help transform our yard.
It all started when we killed the grass during our add-on in the spring. We decided we should probably re-seed the grass before Godzilla El Niño hits this autumn/winter—but as part of that, we also decided it would be a good idea to rip out about half of the lawn and replace it with decomposed granite. Although we're supposed to get lots of rain this year, it's clear that we may be in a perpetual state of drought in California, so granite makes more sense than anything that requires water.
Because our baby grass will be fragile once planted, we had to lay down the granite first so that the delivery trucks could drop off loads without running over any fledgling blades.
Monday morning, after we laid down weed-blocking landscape fabric, the local rockery showed up with our base gravel...
We shoveled and raked it all out and then Mr. W compacted it with a fancy machine called "The Wacker." Here he is wacking now...
After that, it was on to two layers of decomposed granite, each of which had to be wacked into compacty perfection. Of course, the nosey chickens broke out of their yard and tried to help. Nothing like chicken poop on a brand new, pristine patio to make your day.
Once the patio was finished, we moved on to the vegetation row that will separate the patio area from the new grass. We planted 20 lavender plants today...again in 90° heat. We need to get another load of gravel to lay in the planter bed, but you can get an idea of what it'll look like in the progress shots below:
I'm pretty excited about how it's all coming along. I'll be really, really excited when we have some living lawn again.And I'll be really relieved when I can put away my shovel for an extended period of time. But that won't happen until we finish the front yard, too. Stay tuned. And feel free to tell me I'm a backyard bad ass for helping Mr. W with this.
Labels:
backyard,
credit,
decomposed granite,
marriage,
patio
Tuesday, September 29, 2015
What We're Making: A Bench You Can't Sit On
Earlier this month, we completed the gallery wall project we had slated for our recently renovated master bedroom. But pretty much as soon as we hung the final frame on the wall, I started thinking the room looked unbalanced. #neversatisfied Though the wall looked sharp, we pretty much had a bowling lane running down the east side of the room. If I didn't find a way to break up the space and balance the heavy bed and couch on the west side of the room, I was going to have to start wearing an eye patch every time I walked in the room so I'd only see one side at a time. And nobody wanted that.
I decided a bench on the gallery wall would solve the problem, so I spent many an evening researching options on All Modern, Overstock, Crate & Barrel, Wayfair, Dot and Bo....and on and on. (Follow me on Pinterest and you can track the madness.) Unfortunately, nothing I found was the dimension I was seeking—I needed something long and shallow. And on top of that, the stuff I really liked was pricey. So I did what any self-sufficient DIYer would do: I asked Mr. W for help.
I set him to task, cutting me a nice long bench base from one of our discarded closet doors, then I ordered some cool mid-century-esque bench legs from Home Depot. I had some foam left over from a previous bench project we'd done in the guest room, so all I needed was some nice fabric and a few coverable buttons. Easy peasy. Right.
I hit Joann Fabrics over the weekend and found some awesome, toothy navy blue upholstery fabric and went to work Sunday afternoon thinking I could bang out the project in a couple hours. Instead, it took five. Here's a time lapse of the first few steps before I got burnt out and was cussing too much to stop and take pictures:
| Staining the legs with walnut stain. |
| Piecing together some old and new pieces of foam for the cushion. |
| Covering the whole thing with batting. And yes, I got a blister from using the staple gun so much. |
| My little helper. Not really helping. |
| Covering in my snazzy fabric. Pardon all the cat hair... |
Once I got the buttons placed, I hot glued fabric to the bottom and installed the legs. I was quite proud of how it looked when I was finished. However, when I tried to sit on it lightly, the wood began to bow. It is possible to sit on the corner where the legs add strength, but trying to rest on the middle of it would likely snap it in half.
So it becomes another piece of art on the gallery wall. Fashion before function, my friends.
| I know, I know. The corners need some work. |
One more peek at the before:
And the after:
The room is so much more balanced now, don't you think?!
Labels:
bench,
DIY,
master bedroom,
What We're Making
Subscribe to:
Posts (Atom)


